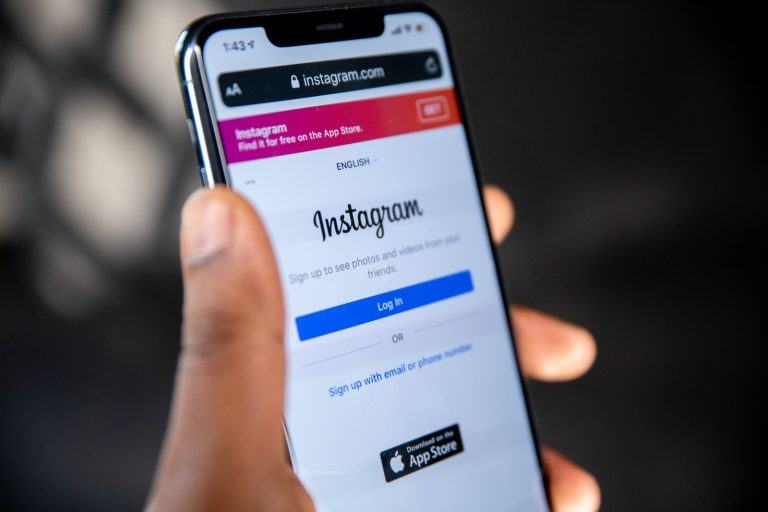
With remote working and learning now becoming a norm, tools like Zoom have become essential in our daily lives. But apart from just video conferencing, Zoom also offers a great platform to record videos, which can then be shared on various social media platforms like Instagram. In this blog post, we’ll guide you through a step-by-step process to record yourself on Zoom and post it on Instagram.

Table of Contents
Step 1: Setting up Zoom
Before you start recording, you need to have the Zoom application downloaded and installed on your computer. You can download it from the official Zoom website. After installing, sign in with your credentials. If you don’t have an account yet, you can easily create one.
Step 2: Start a New Meeting

Open your Zoom application and click on the “New Meeting” button. This will start a new Zoom meeting with just you in it. Adjust your camera and microphone settings to ensure everything is working correctly.
Step 3: Record Your Video

Once you’re ready to record, find the “Record” button located at the bottom of the Zoom window (you may need to move your cursor to the bottom of the screen to make this toolbar appear). Click on it and select “Record on this Computer.” Zoom will start recording everything that’s happening in the meeting, including audio.
While recording, you can use various features like sharing your screen, using the virtual whiteboard, or adding annotations. Remember to look into the camera to make the video more engaging.
Step 4: End the Meeting and Find Your Recording
Once you have finished recording, click on the “Stop Recording” button, then end the meeting. Zoom will then convert the meeting recording into a playable video file. This can take a few minutes, depending on the length of the video.
Zoom will automatically save the recording in a predetermined location (usually a folder named “Zoom” in your Documents). You can also find your recordings by opening Zoom, clicking on “Meetings,” and then the “Recorded” tab.
Step 5: Edit the Video (Optional)
Before posting on Instagram, you might want to edit the video to make it more engaging. You can trim unnecessary parts, add text or effects, or even include background music. There are many video editing tools available like Adobe Premiere Pro, iMovie (for Mac users), or even mobile apps like InShot.
Keep in mind Instagram’s video requirements: feed videos can be up to 60 seconds long, while IGTV videos must be at least one minute long with a maximum length of 15 minutes when uploading from mobile, or 60 minutes when uploaded from the web.
Step 6: Post the Video on Instagram

Now that your video is ready, it’s time to share it on Instagram. If your video is under 60 seconds, you can post it directly to your feed:
- Open the Instagram app on your phone.
- Tap the “+” icon at the bottom of the screen.
- Select “Library” and find the video you want to upload.
- Tap “Next,” then you can apply filters or edit the video.
- Tap “Next” again, write a caption, and then tap “Share” to post the video.
If your video is longer, you’ll have to upload it to IGTV:
- Open the Instagram app and tap the IGTV icon at the top of your feed.
- Tap the “+” icon to add a new video.
- Select the video you want to upload and tap “Next.”
- Add a title and description.
- Tap “Post” to upload the video to IGTV.
And there you have it! Now you can utilize Zoom not only for your meetings and webinars but also as a creative tool for generating content for Instagram. This method offers a great way to share educational content, tutorials, product demos, and more with your Instagram audience.

Bonus Tips for Better Zoom Recordings
- Lighting and Environment: Ensure the space where you’re recording is well-lit and relatively quiet. Natural light is best, but if that’s not possible, use a good quality artificial light source. Keep the background clean and uncluttered to maintain the focus on you.
- Camera Position: Position your camera at eye level to maintain a direct line of sight. It feels more natural and engaging to the viewers.
- Sound Quality: If possible, use a good quality microphone. The built-in microphones on computers can sometimes produce poor sound quality.
- Presentation: Speak clearly and maintain a steady pace. Remember, the goal is to effectively communicate with your audience.
Remember, the key to creating engaging content lies in your creativity and authenticity. Zoom is merely a tool that allows you to capture and share your ideas. So, turn on your camera, start recording, and let your unique voice shine on Instagram!

